In this section, the basics of editing (source) text are explained. The IDE works like many
other text editors in this respect, so mainly the distinguishing points of the IDE will be
explained.
Standard, the IDE is in insert mode. This means that any text that is typed will be
inserted before text that is present after the cursor.
In overwrite mode, any text that is typed will replace existing text.
When in insert mode, the cursor is a flat blinking line. If the IDE is in overwrite, the cursor is a
cube with the height of one line. Switching between insert mode or overwrite mode happens with
the INSERT key or with the CTRL-V key.
The IDE handles selected text just as the Turbo Pascal IDE handles it. This is slightly
different from the way e.g. Windows applications handle selected text.
Text can be selected in 3 ways:
- Using the mouse, dragging the mouse over existing text selects it.
- Using the keyboard, press CTRL-K B to mark the beginning of the selected text, and
CTRL-K K to mark the end of the selected text.
- Using the keyboard, hold the SHIFT key depressed while navigating with the cursor
keys.
There are also some special select commands:
- The current line can be selected using CTRL-K L.
- The current word can be selected using CTRL-K T.
In the Free Pascal IDE, selected text is persistent. After selecting a range of text, the cursor can be
moved, and the selection will not be destroyed; hence the term ’block’ is more appropriate for the
selection, and will be used henceforth...
Several commands can be executed on a block:
- Move the block to the cursor location (CTRL-K V).
- Copy the block to the cursor location (CTRL-K C).
- Delete the block (CTRL-K Y).
- Write the block to a file (CTRL-K W).
- Read the contents of a file into a block (CTRL-K R). If there is already a block,
this block is not replaced by this command. The file is inserted at the current cursor
position, and then the inserted text is selected.
- Indent a block (CTRL-K I).
- Undent a block (CTRL-K U).
- Print the block contents (CTRL-K P).
When searching and replacing, the search can be restricted to the block contents.
The IDE provides a feature which allows to set a bookmark at the current
cursor position. Later, the cursor can be returned to this position by pressing a keyboard
shortcut.
Up to 9 bookmarks per source file can be set up, they are set by CTRL-K ¡NUMBER¿ (where
number is the number of the mark). To go to a previously set bookmark, press CTRL-Q
¡NUMBER¿.
Remark: Currently, the bookmarks are not stored if the IDE is left. This may change in future
implementations of the IDE.
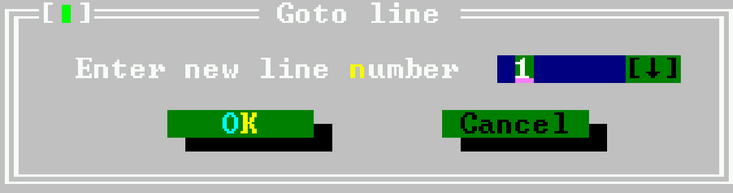
It is possible to go directly to a specific source line. To do this, open the
goto line dialog via the ”Search--Goto line” menu.
In the dialog that appears, the line-number the IDE should jump to can be entered. The goto line
dialog is shown in figure (6.4).
The IDE is capable of syntax highlighting, i.e. the color of certain Pascal
elements can be set. As text is entered in an editor window, the IDE will try to recognise the
elements, and set the color of the text accordingly.
The syntax highlighting can be customized in the colors preferences dialog, using the menu option
”Options--Environment--Colors”. In the colors dialog, the group ”Syntax” must be
selected. The item list will then display the various syntactical elements that can be
colored:
-
Whitespace
- The empty text between words. Remark that for whitespace, only the
background color will be used.
-
Comments
- All styles of comments in Free Pascal.
-
Reserved words
- All reserved words of Free Pascal. (see also Reference guide).
-
Strings
- Constant string expressions.
-
Numbers
- Numbers in decimal notation.
-
Hex numbers
- Numbers in hexadecimal notation.
-
Assembler
- Any assembler blocks.
-
Symbols
- Recognised symbols (variables, types)
-
Directives
- Compiler directives.
-
Tabs
- Tab characters in the source can be given a different color than other whitespace.
The editor uses some default settings, but experimentation is the best way to find a fitting color
scheme. A good color scheme helps detecting errors in sources, since errors will result in wrong
syntax highlighting.
Code completion means the editor will try to guess the text as it is being typed.
It does this by checking what text is typed, and as soon as the typed text can be used
to identify a keyword in a list of keywords, the keyword will be presented in a small
colored box under the typed text. Pressing the ENTER key will complete the word in the
text.
There is no code completion yet for filling in function arguments, choosing object methods as in
e.g. Delphi.
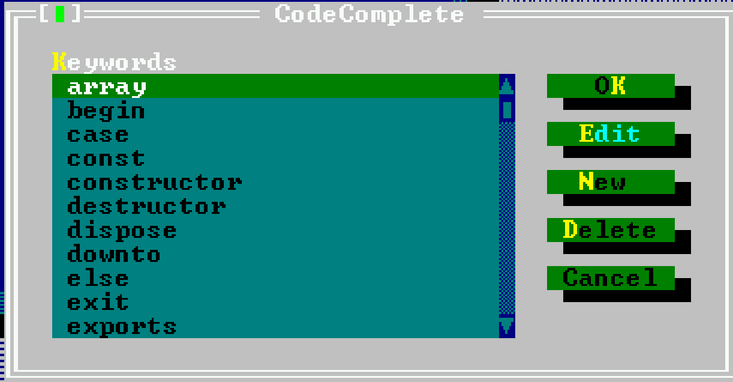
Code completion can be customized in the Code completion dialog, reachable through the menu
option ”Options--Preferences--Codecompletion”. The list of keywords that can
be completed can be maintained here. The code completion dialog is shown in figure
(6.5).
The dialog shows the currently defined keywords that will be completed in alphabetical order. The
following buttons are available:
-
Ok
- Saves all changes and closes the dialog.
-
Edit
- Pops up a dialog that allows to edit the currently highlighted keyword.
-
New
- Pops up a dialog that allows to enter a new keyword which will be added to the list.
-
Delete
- Deletes the currently highlighted keyword from the list
-
Cancel
- Discards all changes and closes the dialog.
All keywords are saved and are available the next time the IDE is started. Duplicate names are
not allowed. If an attempt is made to add a duplicate name to the list, an error will
follow.
Code templates are a way to insert large pieces of code at once. Each code
templates is identified by a unique name. This name can be used to insert the associated piece of
code in the text.
For example, the name ifthen could be associated to the following piece of code:
A code template can be inserted by typing its name, and pressing CTRL-J when the cursor is
positioned right after the template name.
If there is no template name before the cursor, a dialog will pop up to allow selection of a
template.
If a vertical bar (--) is present in the code template, the cursor is positioned on it, and the vertical
bar is deleted. In the above example, the cursor would be positioned between the if and then,
ready to type an expression.
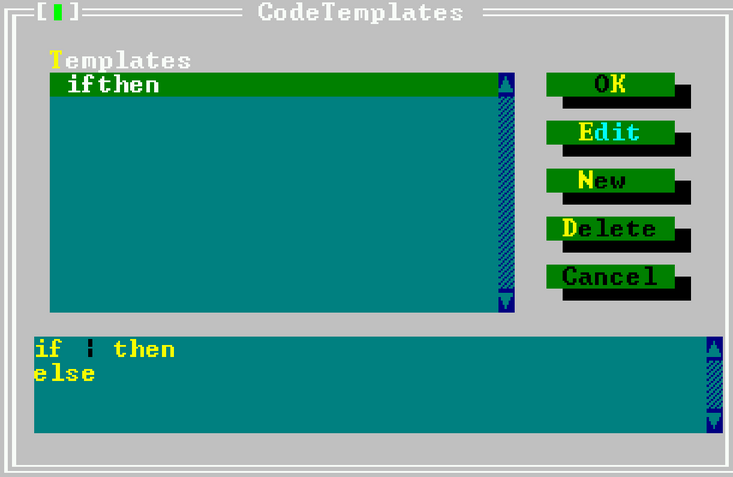
Code templates can be added and edited in the code templates dialog, reachable via the menu
option ”Options--Preferences--Codetemplates”. The code templates dialog is shown in
figure (6.6).
The top listbox in the code templates dialog shows the names of all known templates. The bottom
half of the dialog shows the text associated with the currently highlighted code template. The
following buttons are available:
-
Ok
- Saves all changes and closes the dialog.
-
Edit
- Pops up a dialog that allows to edit the currently highlighted code template. Both the
name and text can be edited.
-
New
- Pops up a dialog that allows to enter a new code template which will be added to the
list. A name must be entered for the new template.
-
Delete
- Deletes the currently highlighted code template from the list
-
Cancel
- Discards all changes and closes the dialog.
All templates are saved and are available the next time the IDE is started.
Remark: Duplicates are not allowed. If an attempt is made to add a duplicate name to the list, an error will
occur.