Computer Science Department |
Objectives: |
|
Background: |
Applets are small programs originally designed to be embedded on web pages. Today, you will create two applets that will paint an image into a window. That image will be generated by repeatedly painting a shape multiple times to achieve certain effects. |
New Terms: |
|
Materials: |
Download ConCircle.java and Brick.java as starter programs. Download Demo.html as starter web pages. |
| Acknowledgment | Lab by Nancy Harris |
Set up your programming environment for this lab. You should create a folder into which you will store your programs.
Download the two programs from the materials section as well as the two starter html.
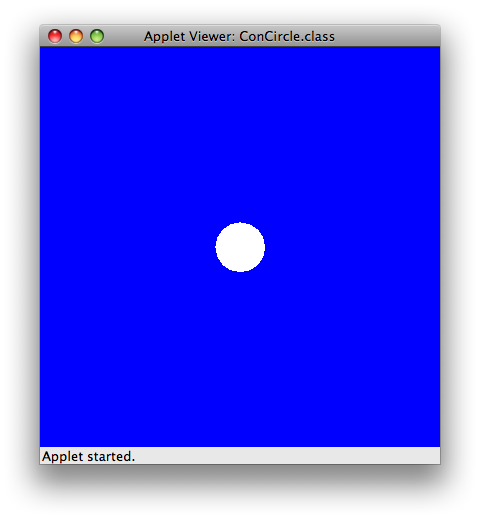 Open the file ConCircle.java. In JGrasp, compile the file, then run it using the Apple icon (this is an applet).
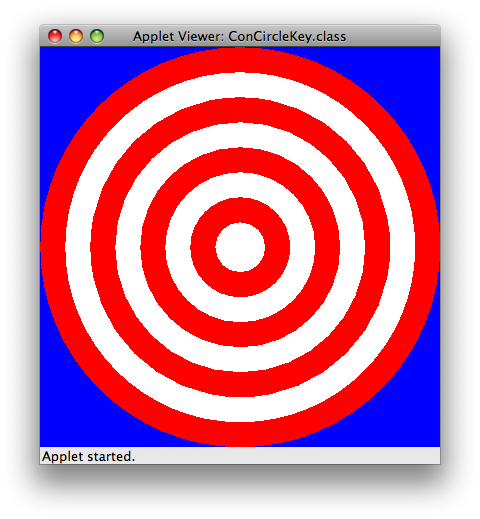 For
this part, you will try to reproduce the pattern you see at the left.
Notice that the largest circle is enclosed by the window
itself
(assuming a 400 x 400 window) and there are 8 circles, the smallest of
which is 50 x 50 pixels. The center of each circle is at
position
200, 200. Since each object overlays the next, you will need
to
start with the largest circle (which begins at position 0,0, and works
down to the smallest which is at position 175, 175. Work out
a
formula that would involve a looping solution so that you don't have to
draw each circle on its own.
For
this part, you will try to reproduce the pattern you see at the left.
Notice that the largest circle is enclosed by the window
itself
(assuming a 400 x 400 window) and there are 8 circles, the smallest of
which is 50 x 50 pixels. The center of each circle is at
position
200, 200. Since each object overlays the next, you will need
to
start with the largest circle (which begins at position 0,0, and works
down to the smallest which is at position 175, 175. Work out
a
formula that would involve a looping solution so that you don't have to
draw each circle on its own. 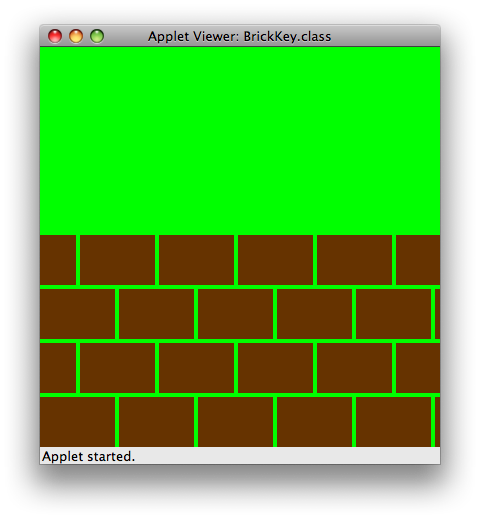 In
Brick.java, a single brick has been
placed at the bottom left hand
corner of a "wall". But the wall is not yet made.
Your task
is to build a wall that is 4 bricks high and alternates the bricks in
the pattern that you see to your left. Notice that instead of
picking a standard color, the brown is built from RGB values.
The color that you see displayed consists of different light
values of Red, Green, and Blue from 0 - 255. The higher the
color, the more of that particular color is in the light. So
255,0,0 is Red. These are often expressed as hexidecimal
values.
255,0,0 in decimal numbers would be FF, 0, 0 in hex.
In
Brick.java, a single brick has been
placed at the bottom left hand
corner of a "wall". But the wall is not yet made.
Your task
is to build a wall that is 4 bricks high and alternates the bricks in
the pattern that you see to your left. Notice that instead of
picking a standard color, the brown is built from RGB values.
The color that you see displayed consists of different light
values of Red, Green, and Blue from 0 - 255. The higher the
color, the more of that particular color is in the light. So
255,0,0 is Red. These are often expressed as hexidecimal
values.
255,0,0 in decimal numbers would be FF, 0, 0 in hex.Created 10/19/09 (nlh)